因为自己的博客网站一直没有设立评论系统,然后看了 Pseudoyu 大佬的博客之前的文章看到了 Cusdis 这个评论系统,然后自己尝试在自己的网站上搭建,并且记录一下自己遇到的报错。希望对您有帮助
我使用的方案是(Cusdis + Docker),如果想使用 Railway 方案的话,可以查看 Pseudoyu大佬的文章
搭建部署说明
使用Docker 部署 Cusdis 服务
我使用的是docker方案进行搭建,以下是官方docker-compose.yml 文件内容
version: "3.9"
services:
  cusdis:
    image: "djyde/cusdis:1.3.2"
    ports:
      - "3000:3000"
    environment:
      - USERNAME=admin
      - PASSWORD=password
      - JWT_SECRET=ofcourseistillloveyou
      - NEXTAUTH_URL=http://IP_ADDRESS_OR_DOMAIN
      - DB_TYPE=pgsql
      - DB_URL=postgresql://cusdis:password@pgsql:5432/cusdis
  pgsql:
    image: "postgres:13"
    volumes:
      - "./data:/var/lib/postgresql/data"
    environment:
      - POSTGRES_USER=cusdis
      - POSTGRES_DB=cusdis
      - POSTGRES_PASSWORD=password
官方的docker-compose.yml 中没有指定具体的镜像版本号,latest会导致 iframe 错误,导致 comment 模块在网页中显示错误,指定镜像为1.3.2就没有这个问题,有人在官方仓库提交了这个 Issues#233.
配置 Cusdis 脚本至个人博客
部署完成后,点击 Cusdis 服务生成的链接,点击访问服务 Dashboard。
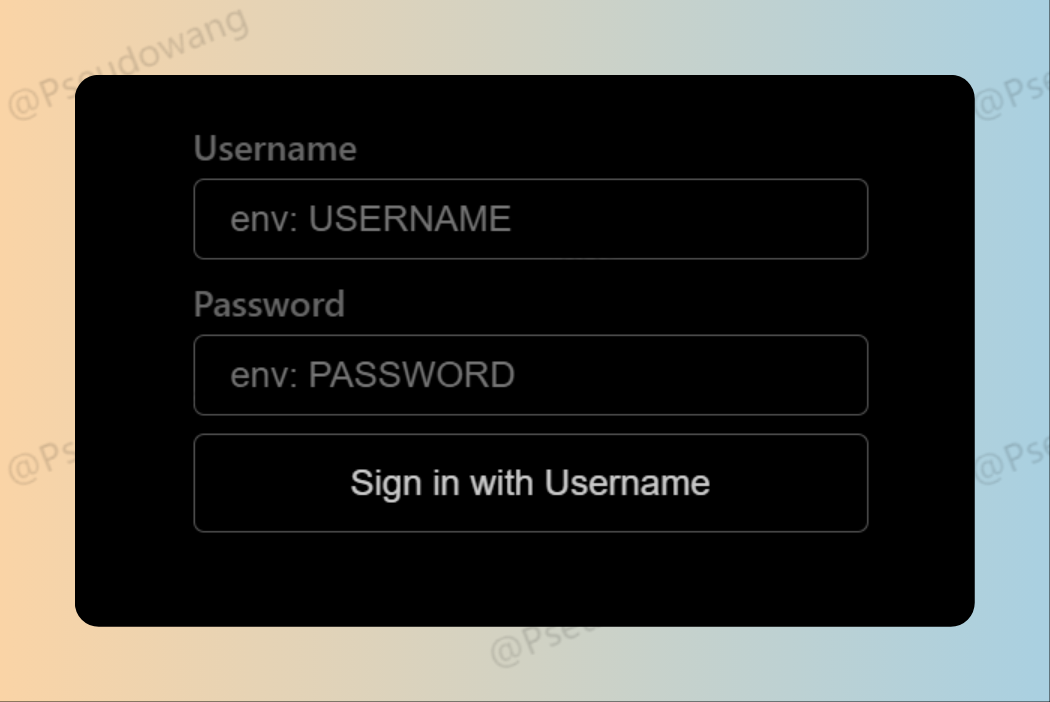 登录这里的USERNAME 和 PASSWORD 就是刚刚在
 docker-compose.yml 的USERNAME 和 PASSWORD
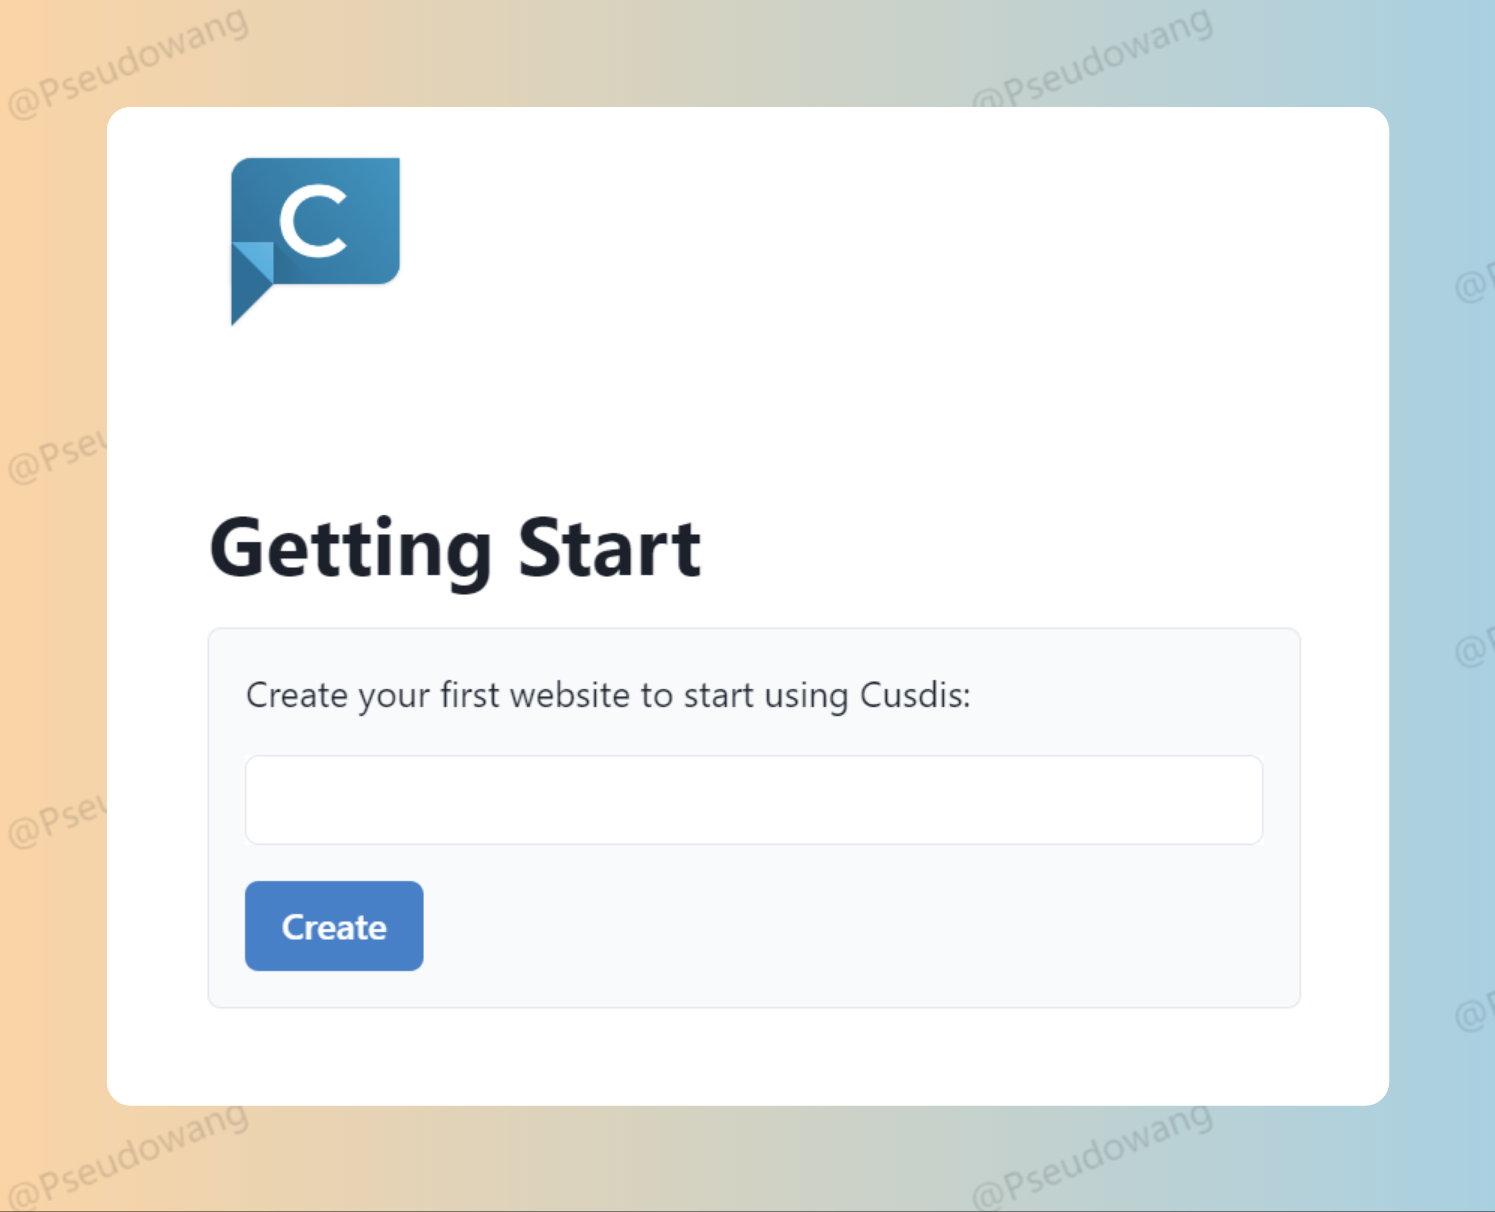
第一次登录会弹窗提示需要配置第一个网站,输入网站名称即可完成添加。
后续当我们需要添加网站时,点击侧边栏 New Website,添加网站名称即可完成添加。
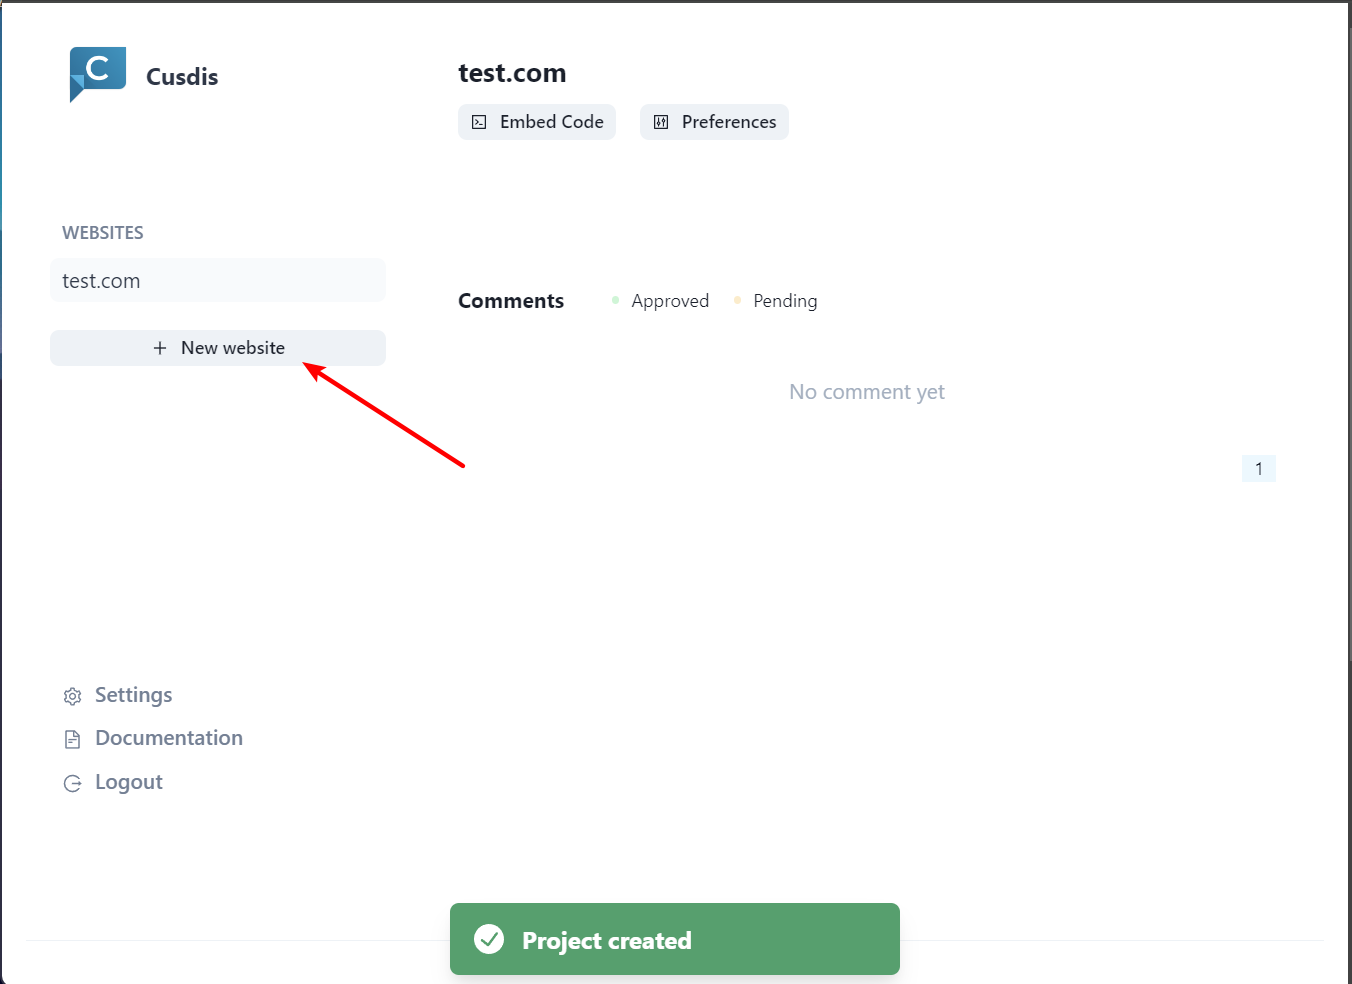
下面我们点击上方的 Embed Code,复制弹窗中的代码。这部份代码需要根据你所用的博客网站类型不同进行部分修改,具体可参考官方文档 的 Integration 模块进行配置。
我所用的是 Hugo, 配置如下
  <h3>Comments:</h4>
  <div id="cusdis_thread" data-host="https://xxx"
    data-app-id="xxx"
    data-page-id="{{ .File.UniqueID }}" data-page-url="{{ .Permalink }}"
    data-page-title="{{ .Title }}"></div>
  <script async defer src="xxx"></script>
修改后,将其添加到博客的相应位置(一般是在最下面),配置部署后,就可以看到评论框
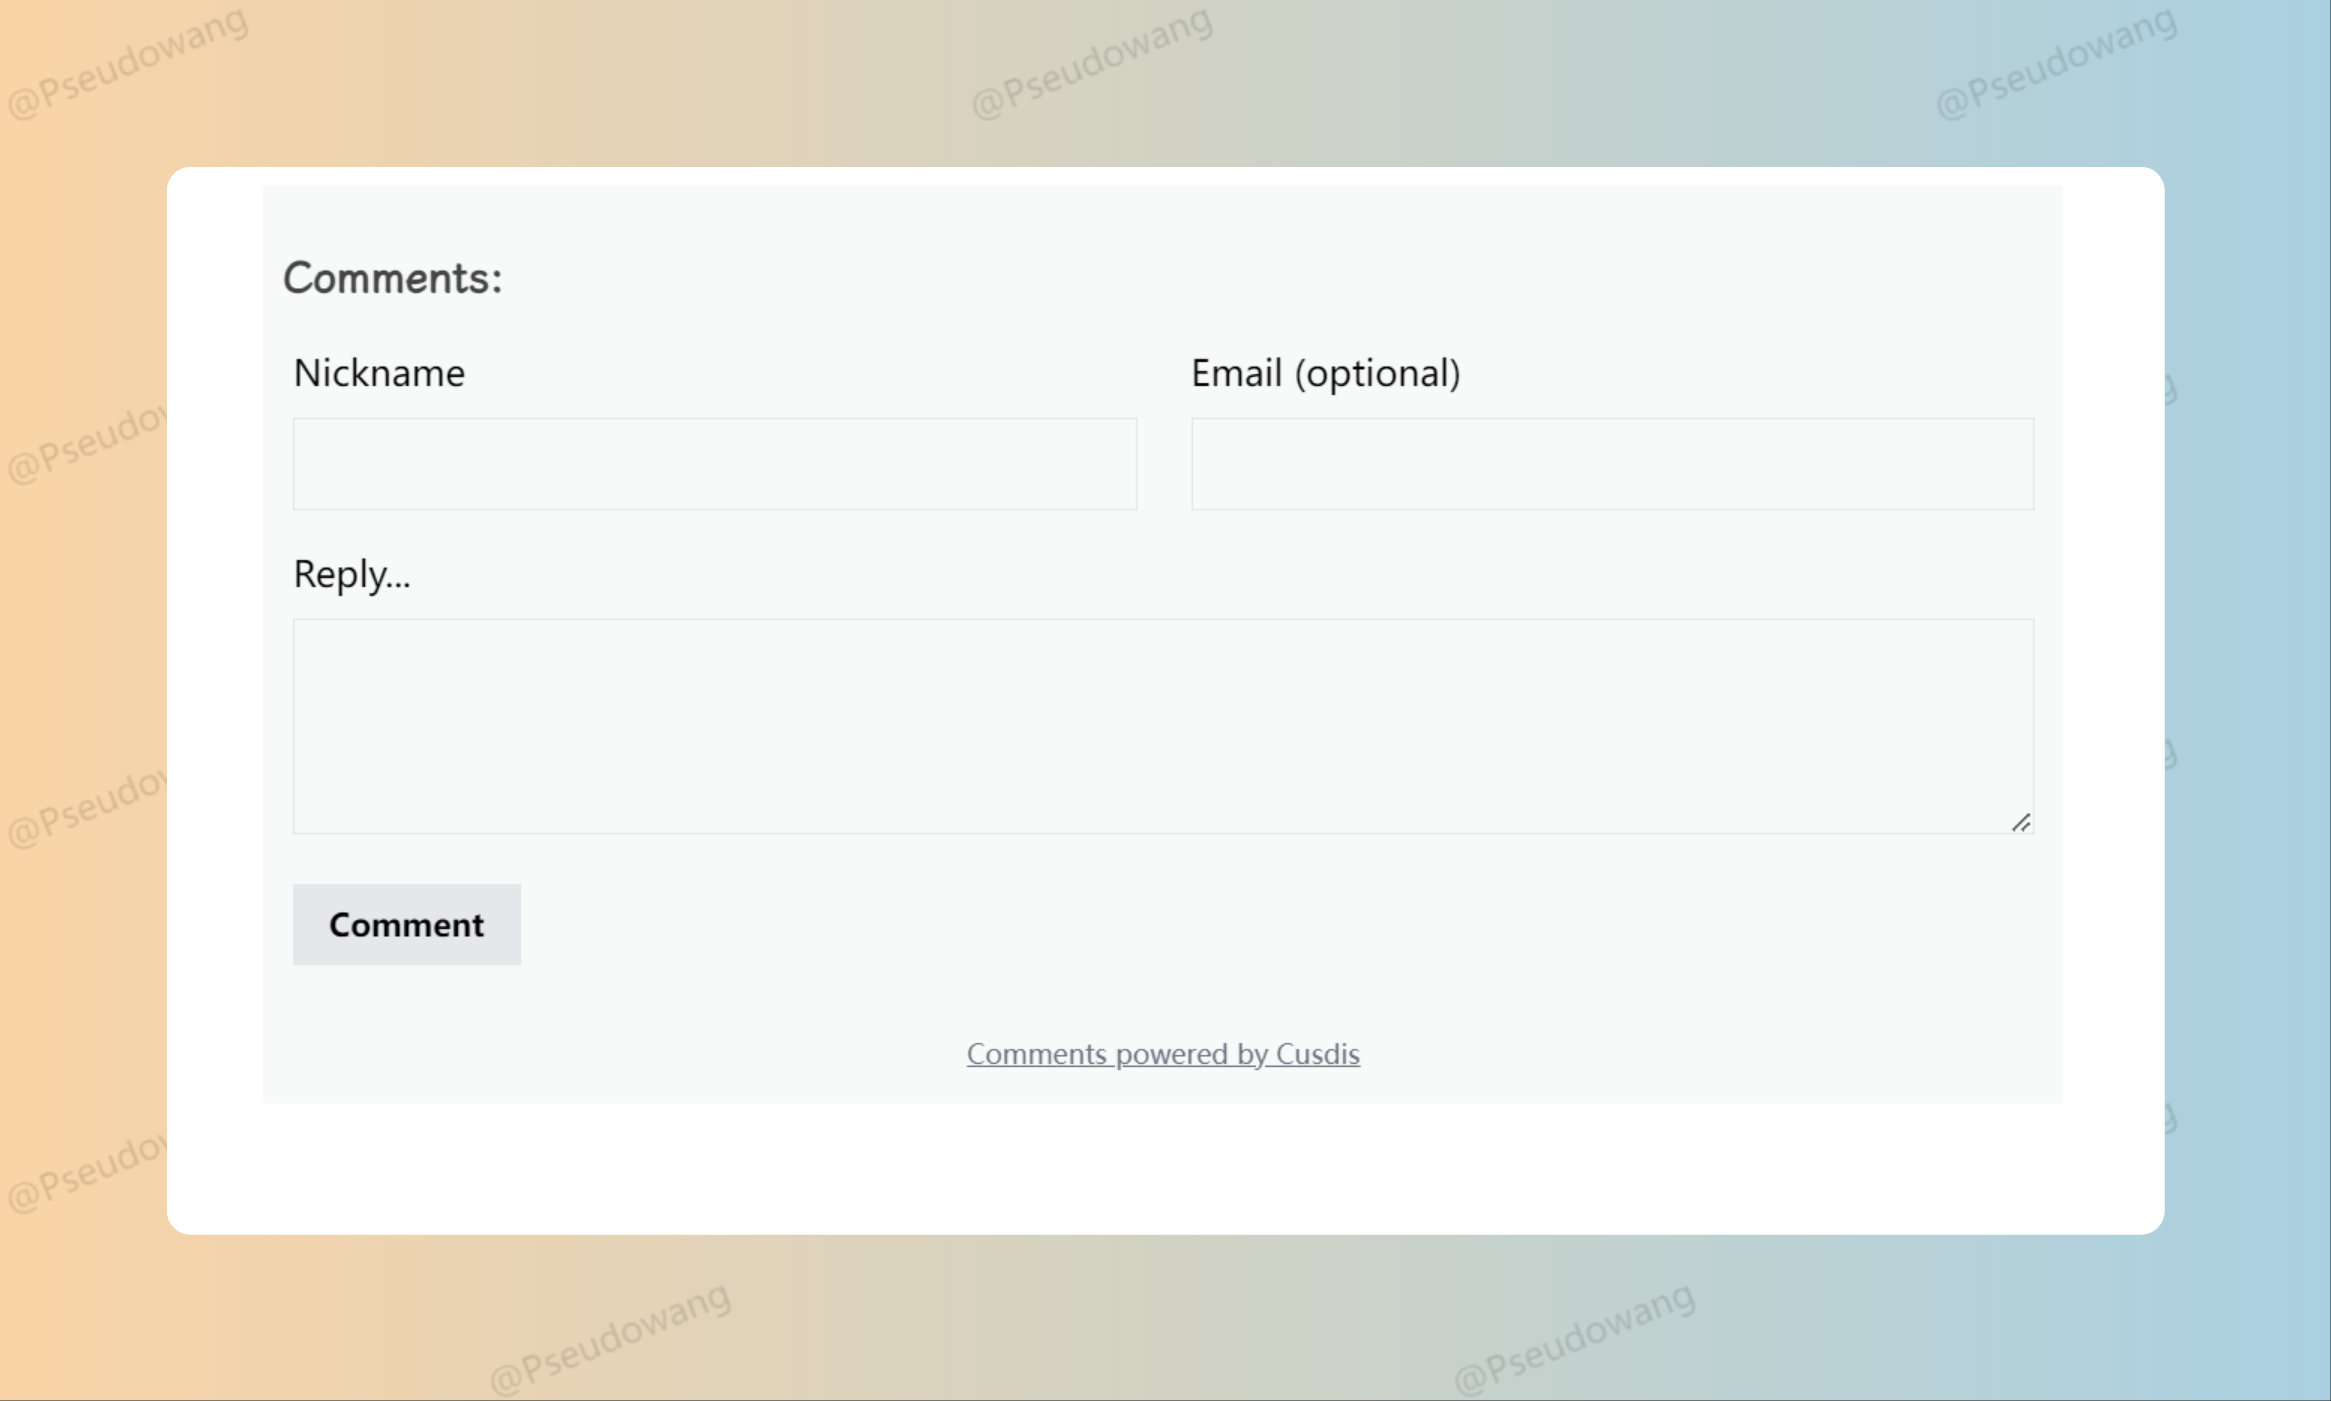
如果你显示的有页面问题,不妨更改一下 镜像版本,更改为1.3.2版本
配置邮箱提醒:
官方文档中有进行介绍,我这里使用的是 Gmail 方案,首先,访问 Google Account Security。然后确定你已经开启了 Two-factor Authentication。然后去 application passwords 创建一个属于 Cusdis 的密码。
SMTP_HOST=smtp.gmail.com
SMTP_PORT=465
SMTP_SECURE=true
SMTP_USER=your gmail email
SMTP_PASSWORD=<app password>
SMTP_SENDER=your gmail email
记得 SMTP_PASSWRD 中输入的是在application passwords 创建的密码,记得把 <> 删掉哦(我没有删掉就会出现报错,然后收不到邮件)
The sender email MUST be the same as login user, but you can give it a display name by
John Doe <[email protected]>, the same applies for other SMTP services.
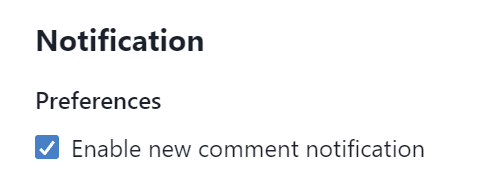
然后在 Settings –> Notification 打开 Enable new comment notification
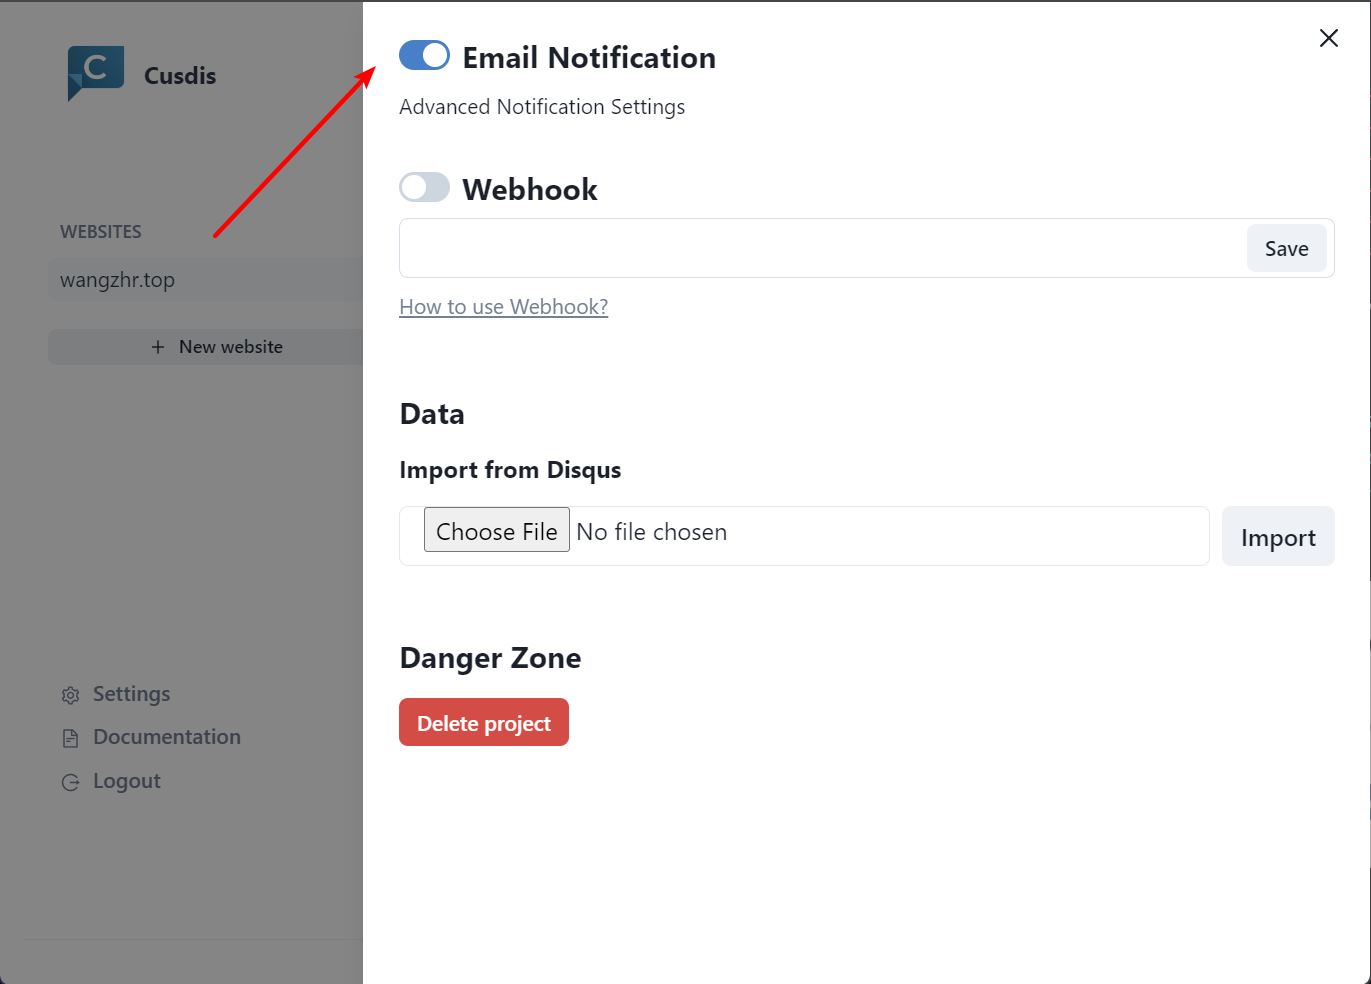
在网站中的 Preferences 确定下 Email Notificatioin 是否打开
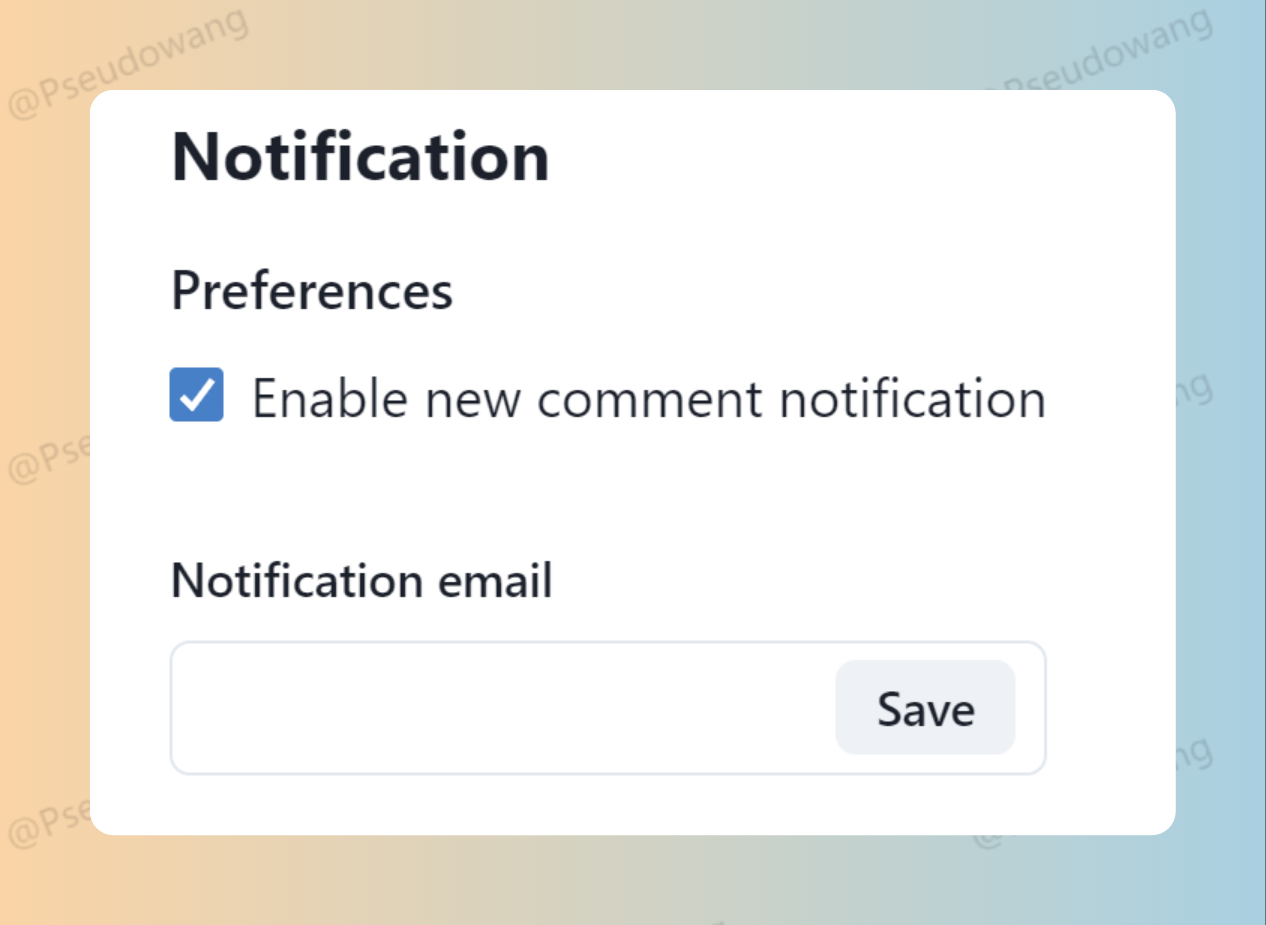
然后在 Settings 中就可以输入你想被通知的邮箱啦!
也可以使用 Follow 的 Inbox 功能啦
总结
以上就是我为我的网站添加 Cusdis 评论系统的全过程。如果遇到什么问题,欢迎留下你的评论,或者给我发邮件哦 :)
Comments: